Properly Video a Ride for an Online Horse Show
Online Horse Shows are growing at a exponential rate as they may be the only way a rider can afford a competition. Yet online has an additional skill factor, that has little to no relationship to your ability of showing a horse…the art of video filming. That camera performance, can be the difference between getting a score of 7 on a movement or a score of 4, simply because the judge can not see the details of movement.
To quote Ida Norris, a USEF ‘S’ and WD ‘R’ judge, in her article to other online judges:
“…Online Judges of Dressage, and Western Dressage, agree that they will not award a 7 or above if they are unable to see video details. It cannot be awarded a “fairly good” if you cannot see the details. In a situation where there is no zoom, little zoom, low light, silhouette only, blurry focus, or horse looks like a tiny miniature at the end of the ring (no zoom) then scores cannot be a 7 and above and must frequently be a 6 range, a 5 range or could be lower. If you can only see a tiny part of something it may be insufficient….”
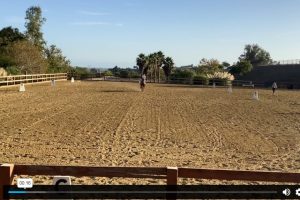
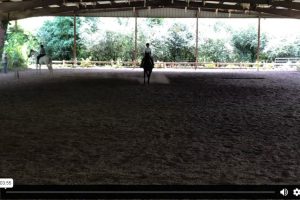
- Needs zoom
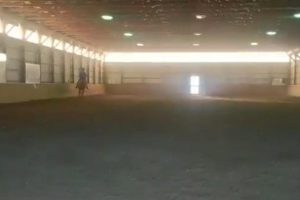
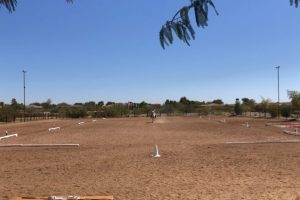
- Example of dark/dusty video
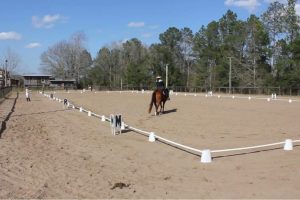
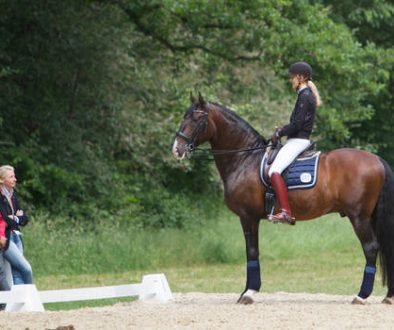
- Example of wrong filming position
- Filming into bright light
- Rider too far away
You want the best possible score, just as you would have had, had you performed in a on-site show. Who knew your camera, usually a smart phone, was a hidden coefficient to your score! The itemized points below should help you and your camera person, achieve your goal.
Who knew your camera, usually a smart phone, was a hidden coefficient to your score!
13 ITEMS TO CONSIDER
1. Choose the right help
Yes your son, daughter, husband or local friend, may know how to use a smart phone, but do they understand dressage, test riding and horses? Often key elements are lost simply because the one videoing, is unfamiliar with the requirements having never tried it themselves. They can not predict what movement is coming next. They zoom in…fast, to catch up and then it may be too late, obscuring details, like a transition between moments or change of direction. That ability to predict what is coming and when to zoom in and out may be the key to a judge seeing details and the resulting score given. Often it is the difference between a score of 5 and a better score of 6. Since scores are cumulative, that missed opportunity adds up.
Some rider have reached to technology, such as a PIVO. A device that tracks and films the rider’s ride, with no human intervention. If setup correctly, it proves to be very effective, when human help is not available.
2. Set the Camera/Phone to the highest resolution.
Both the newer iPhones and Android, have settings, that allow you to choose the quality of your recordings. Use 60fps, if at all possible. The caveat to both of these phones is internal memory. Switching to 60 fps is definitely the best video quality, but is also take the most memory. You can find out what memory your phone has using this site: How To Find Out What Storage Capacity Your Phone Has.
Geek-dom information is up next: To switch your phone settings, the following should help:
iPhones:
Open the camera icon > switch from photo mode to Video mode by either swiping across the bottom carousel or tapping the label. In the upper right corner, tap between 30 and 60 to adjust the frame rate. For BEST clarity and if your iPhone allows it, you can also switch from HD (1080p) to 4K (4000p) by tapping that label as well.
To add to the confusion, Apple allows it’s users to select from 4 different frame rates: 24, 25, 30 or 60fps (frames per second). Since this is motion, I recommend that you skip the 25 and 24 fps, known as PAL (25fps) or Film(24fps) respectively. In the United States 30 or 60 fps is more commonly used in Video community and is known as NTSC. The higher the rate the better the image for movement, but also creates a much larger file.
To help you choose, yet more geek-dom,; a HD (1080p at 60fps) using H264 compression is about 175MB per 1 minute of recording. At 4K (4000p at 60fps) is about 270MB. Thus for a 8 minute ride, you need between 1.4GB to 2.2GB. You can read more about how much memory a iPhone uses in a recording.
So depending how many songs, photos and data is on your phone, will influence which resolution to choose. The key is to check your phones’ internal phone memory capacity and how much of that capacity is already spoken for.
As a general guide line, based on memory, you should be ok with the following settings:
64GB : 30 fps
128 GB: 30 fps
256 GB: Attempt 60fps
512 GB 60fps
1TB: 60fps
Androids:
If you are on a Android, you are already a geek, so this should be familiar territory. On Android devices, open up the Camera app > switch to Video mode > and then tap on the recording settings to open up a list of resolutions and fps values. Like the iPhone, default video recordings should be set to HD (1080p) at 30fps or better. Switching to 60fps, creates the smoothest capturing image and the yet the largest file size. This may be a problem if you don’t have the space to record in.
To help you choose which rate, Samsung indicates that their Android devices, at 4K (4000p at 60fps) use around 300MB for very 1 minute of filming. Where HD (1080p at 30fps) uses 100MB. For a 8 minute ride, that means you need between 800MB and 2.4GB. Review your phones internal phone memory capacity , to make sure you have the storage before beginning.
64GB : 30 fps
128 GB: 30 fps
256 GB: 30fps or 60fps
512 GB 60fps
1TB or larger : 60fps
3. Make sure your Phone/Camera’s lens is clean.
A beautiful ride can be hidden by finger prints and dust on the camera lens.
4. Make sure you Phone / Camera is fully charged.
Nothing is worse than to be filming a test only to have it die in the middle. Video filming is a heavy energy activity, thus to avoid problems, make sure your device is charged to 100% before beginning.
5. Place your smart phone in Airplane mode
This will prevent the interruption during the filming process, where calls and text can interfere with a wonderful ride. Another problematic issue is that smartphones are going to want to upload past data/images to the cloud while you are filming. This happens immediately when the network appears available, whether cell or WiFi. Restoring phone/text connectivity by turning airplane mode back to off, after the ride, is a great way to save the video from loss. During the ride, can cause a conflict.
6. Steady your hand
A shaking or wiggling hand of the filmer, may cause the judge to not clearly see that movement. You can easily lose 1 to 2 points depending on the degree of unsteadiness. It is a good idea to test out filmer before riding the actual test. Film a test ride and take a look. If smart phone/ camera can’t remain still through the entire test and tack check, ..use a tripod. If you don’t have access to a tripod, even resting your elbows on a fence helps.
7. Pay attention to lighting
Choose the time of day for maximum lighting conditions. From 8 am. To 10:30 am. Is good. The sun is low and will light your horse up well with a minimum of shadows Keep the sun at your back. Afternoon from 4 pm. To 7 pm are also good. If you are shooting in an indoor arena that is open (or has sunscreens) your best video will be obtained at night OR close the barn entrance blocking external lights that will change the distance contrast.
8. Film a Test Segment : Try it First
Video a small segment with your selected help. Include the entire arena and your horse in different positions. Then play the video back to check quality and make necessary adjustments. Try it again and again until the view of your horse is shown at their best. After your team has done this a few times, this check and re-check will not be as necessary. You will have gained the experience and know what works.
9. Film from the letter C – The judges box
Film from the EXACT position as where a judge, in a onsite show would sit. Not the left, Not to the right, but right in back of Letter C by about 4-5 feet. If the sun is facing you, then reverse your arena OR wait for another time of day. If you choose to reverse the arena, because of lighting, fences or other issues, make sure to change the letters! The judges use those letter markers to score your movements.

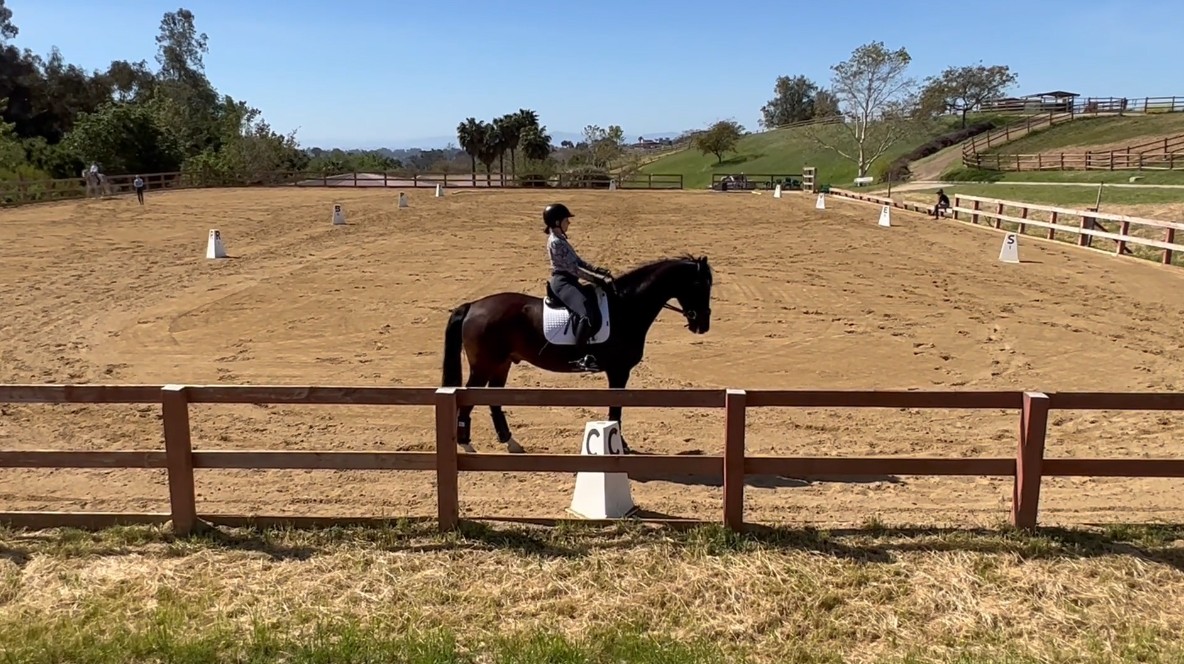
10. Make sure nothing is visibly between the camera and the horse.
Fences are the bane of online showing. From the point of view of the judge,the entire body of the horse, can not be clearly seen. Is the halt square? Is the walk sound? They judge could estimate, but that is not their role, nor is guessing fair to you. In these examples, it would help the judge and you to get better scores, if the filming was done by standing at the fence, effectively removing the fence and hill from view.

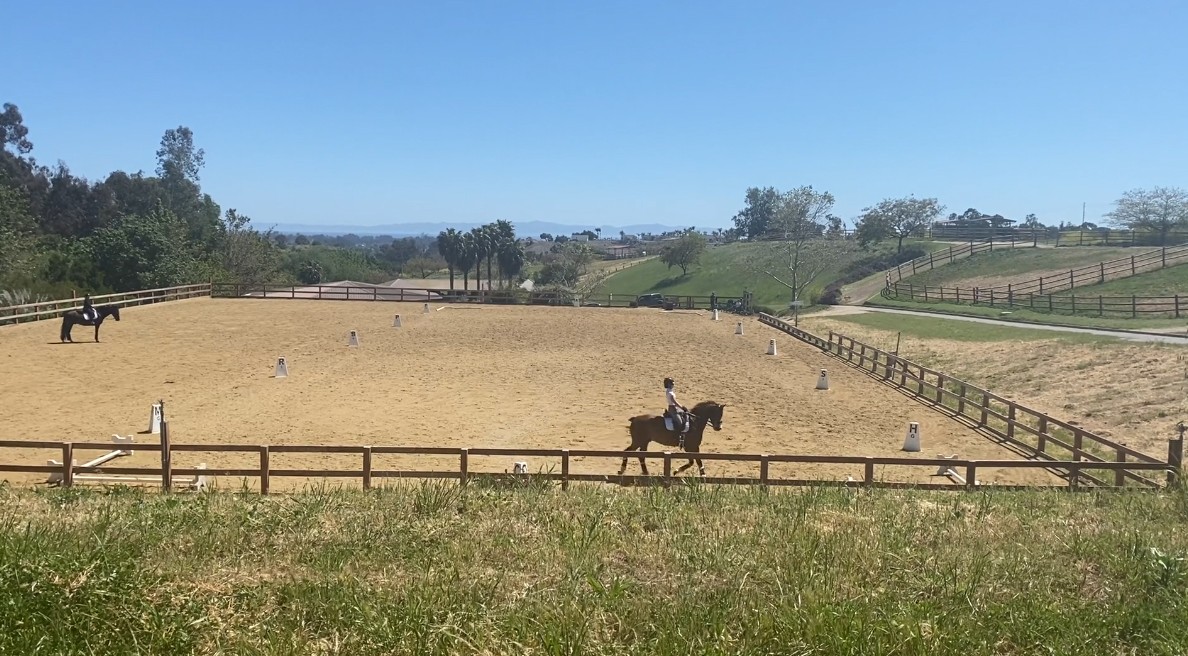
11. Zoom based on movement, not distance.
Your horse needs to be seen, but the judge also needs to see the geometry relative to your position and the movement being performed. For example, if the rider is coming down the center-line, you will not be performing a circle, which requires perspective. Generally speaking, the rule is only use zoom once per movement. The ratio as to how much zoom is roughly as follows:
a) Entrance :
Fill the screen with at least 25% of the horse and into the halt.
b) Straight, long-side or rein-backs.
Fill the screen with at least 30% of the horse
c) Circles :
Fill the screen with 25% horse and follow the pattern showing the circle points relative to the arena.
d)Lateral movements:
If the horse is performing the movement going away from you, start at 40% and stay there. Change the zoom again at the next movement. If the horse is moving toward you, then the reverse is true, start at 25%, allowing the horse to increase in size because of distance. Only zoom back out at the beginning of the next movement.
e)Flying Changes :
Typically flying changes are done on the diagonal and thus the rule from lateral movement applies. That recommendation is: if the horse is performing the movement going away from you, start at 40% and stay there. Change the zoom again at the next movement. If the horse is moving toward you, then the reverse is true, start at 25%, allowing the horse to increase in size because of distance. Only zoom back out at the beginning of the next movement.
f) Pirouettes :
Attempt to fill the screen with at least 30% horse
g)Overall:
If you can not see details of the horse, like the riders legs or the saddle pad, zoom in. If the horse takes up the entire screen…zoom out to the generalized proportions. Try to only change the zoom, once per movement.
Good Examples Of Zoom Usage
12. ALWAYS use Landscape mode.
You would not believe the number of videos that have come in using what is called Portrait mode. There is a very real possibility that your score will drop significantly on the order of 1 or more points per movement , simply because the judge can not see details of position, geography of the arena or the entire horse. Since scoring is cumulative, that mistake is expensive. For example in a training level test there are 13 movements. It is possible that you may lose 13+ points, if only one point was deducted due to lack of detail. Doing some simple math:
Maximum of 250 points and using a score of a 6 points per movement would give a score of 60%
150 Points given / 250 Max = .6 * 100 = 60%
If you lost just one point per movement, simply because the judge can not see all the details, that score would reduce to 50% average.
125 Points given / 250 Max = .5 * 100 = 50%
That is a 10% difference…..and a expensive mistake. When filming a test, ALWAYS think wide, not tall.
Think wide not tall

BAD ANGLE : PORTRAIT

13. Putting it all together
With practice, this process gets easier. Technology and equestrians don’t always understand each other, but when you learn how to apply the basics of just good photography and the perspective of the judge, your smart phone become a power-house of learning. Below are some examples of excellent filming.
Example of a really well filmed rides
In conclusion, the art of turning your smart phone into a productive tool, will enable you to receive the best possible points in your ride. The goal of online showing is to learn. To get better at the warm-up process and executing the test in the arena. This is a lot harder than it looks. You just don’t get on a horse and ride, like in a lesson.
…..Competing is a completely different art form from training
It is shocking to those just starting out, but after a few tries, they realize that competing is a completely different art form from training. It too takes practice. The movements, when performing a test for a judge, have to be done correctly the first time. There is no go back and trying it again. Even how you warm up, in preparation for the ride, will vary from horse to horse and show to show.
Starting at home, in a known environment, and competing in online shows, will help you learn that art form. It will help you understand your horse’s and your own reactions to the pressure of accuracy with no redo. It is a different brain set, one that your horse will easily detect a change in you. Practice Practice Practice. The more you do it, the easier it will becomes. The more relaxed your horse will become, simply because you relax.
Ultimately, I hope that the experience you gain by entering online horse shows, will translate into stepping into a on-site competition, where other factors of environment kick in. It is a excitement like no other.
Virtual Horse Sport staff, will let you know, if they feel the video will not show off your best movements. We are hear to help you achieve your competition goals.
OTHER RESOURCES
Author: Debbie Kurth
Debbie is the patent owner of the “The Virtual Sports Competition” and creator/coder of VirtualHorseSport.com. A computer engineer and former Disney Imagineer, she has received her USDF Bronze and Silver medals, thanks to 3 amazing horses: Juliet, Splendid and Rainman. She was coached & trained by Swedish Dressage Trainer and S Judge, Ulf Wadeborn. She is presently the founder and CEO of Multimedia Designs, LLC.
